Are you thinking about hatching your own eggs? That’s great! Incubating your own eggs can be a fun and exciting way to introduce new birds to your homestead. It can also be a great learning experience for not only you but also your children, if you have children. A quick side note – while you can incubate all kinds of birds from small quail to large turkeys and emu any examples we use here will be referring to incubating chicken eggs.
Things you need to know before you start incubating your eggs.
You think you are ready to start hatching chicks. There are a few things you need to know before you begin hatching your first eggs. The first thing you will need to decide is what you are going to hatch and determine how long it takes to hatch that type of egg. If you have decided to hatch chicken eggs the incubation period will be 21 days. This is important to know so you can plan when your hatch day will be and know when your incubator needs to go in lockdown.

You will need a plan for once your eggs hatch. A couple question you will want to answer are where will you keep them while they are still growing? What kind of brooder set up will you use? A brooder is needed while your chicks are small to keep them warm. How will you house them once they are grown? What will you do with your extra roosters?
Another important thing to keep in mind is you will need to prepare yourself mentally for the difficult parts of hatching your own eggs. Incubating your own eggs is like breeding any other animals and there will come a time you will have to deal with loss. It can come in the form of eggs that don’t hatch or chicks who are not strong enough to make it. It is unfortunate but something you must prepare for.
Items needed to incubate your eggs.
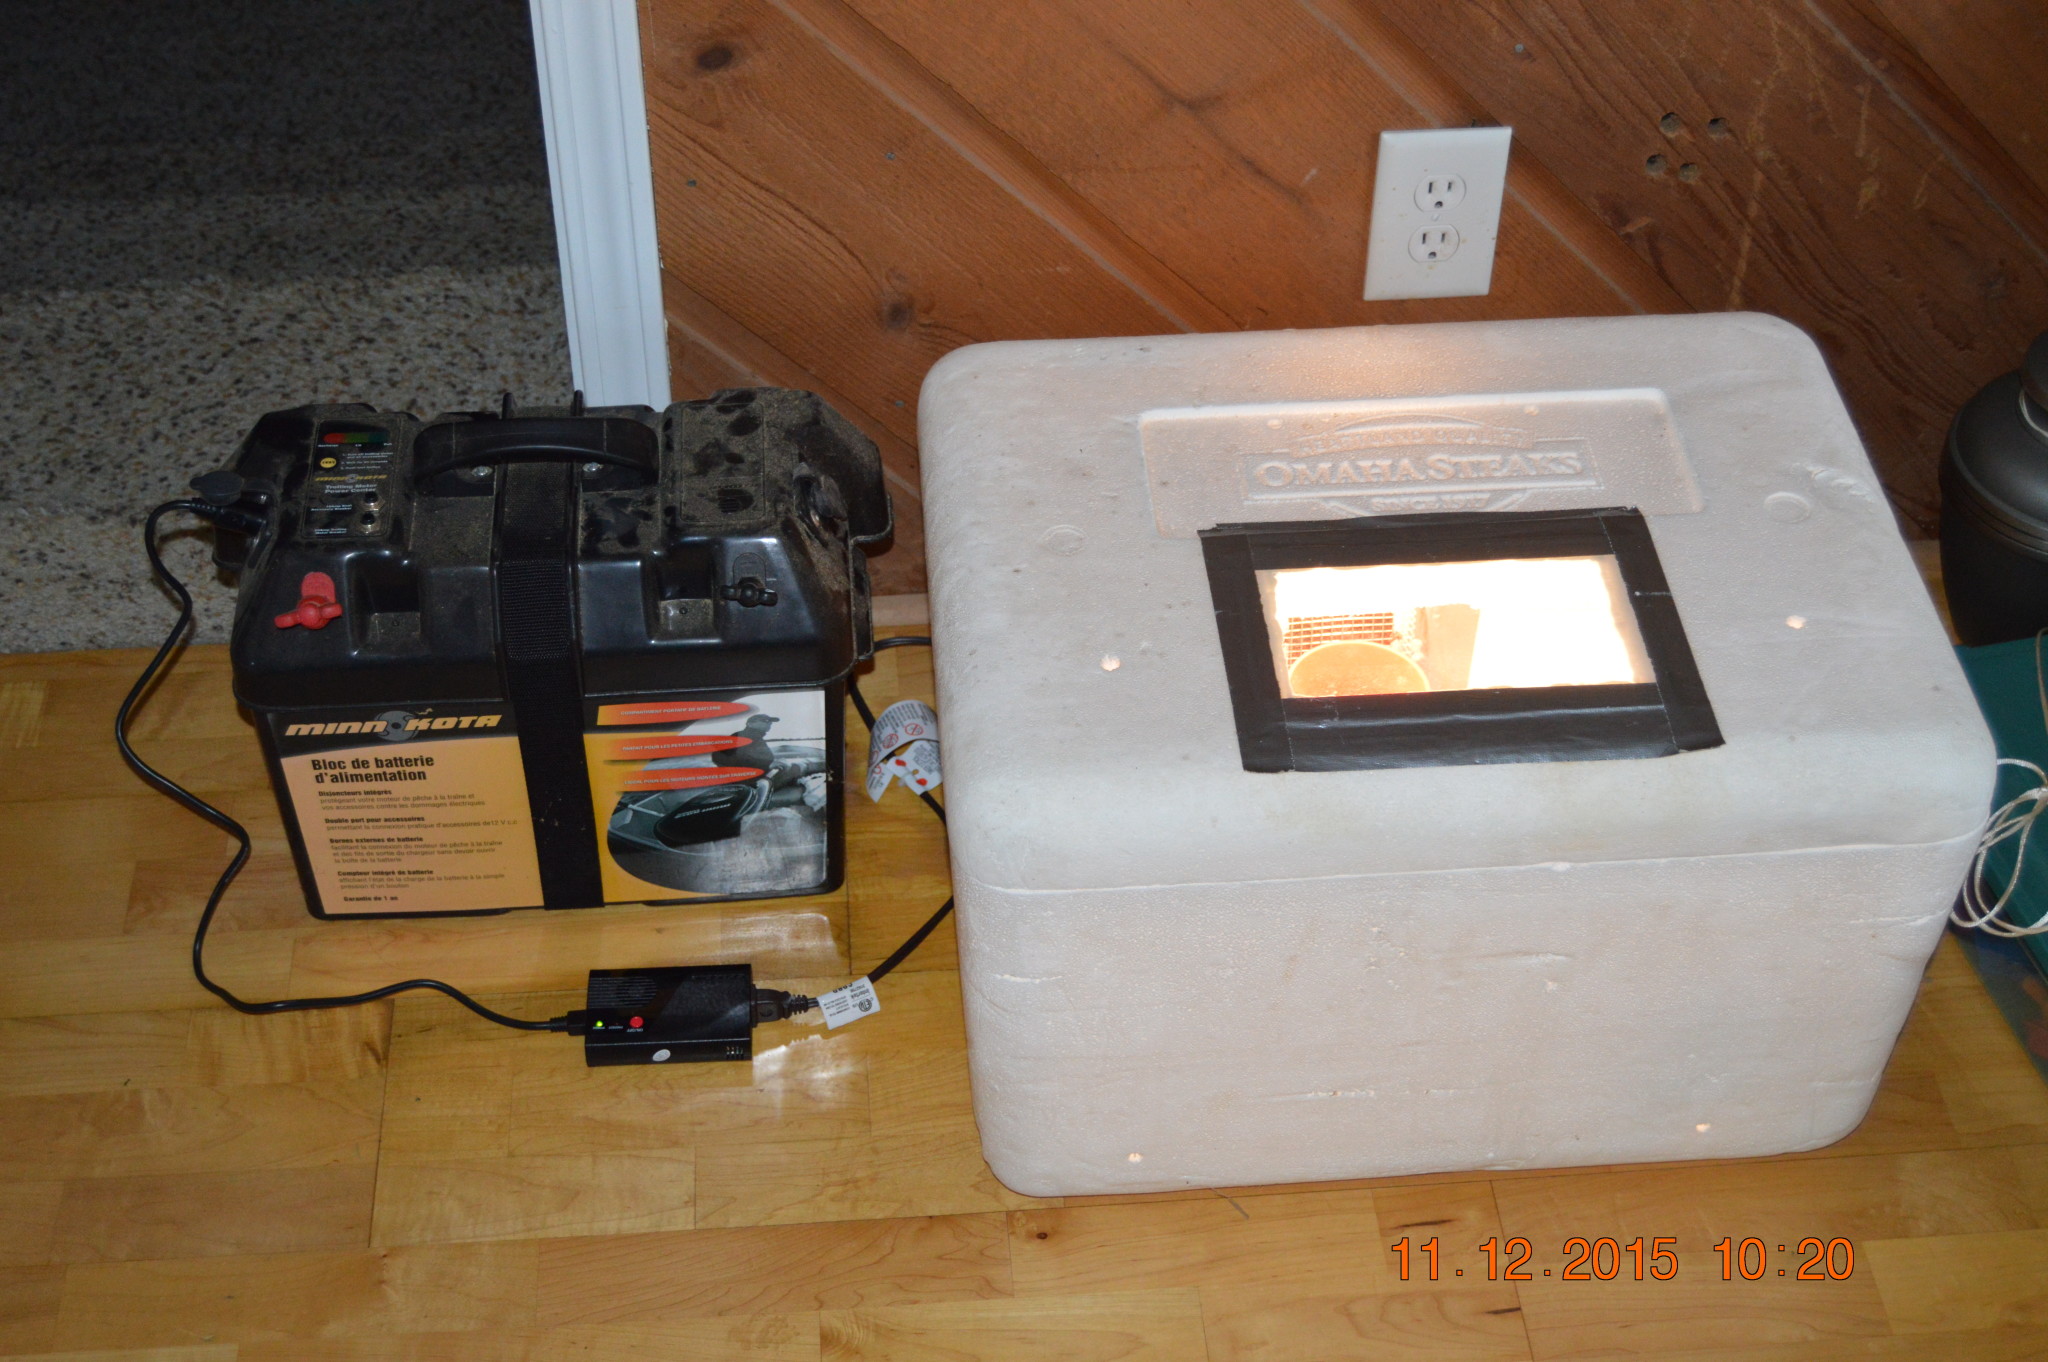
The first thing you will need is an incubator. There are several types of incubators available on the market today from the simple Styrofoam incubators such as the 1602N Hova-Bator Incubator which retails a little over $50 to a cabinet style incubator such as the Model 1202A Sportsman Cabinet Style Egg Incubator that retails for around $800. Another option is to make your own incubator. We made our first incubator out of a Styrofoam cooler and it has worked very well. Some things to keep in mind when deciding what incubator is right for you is how many eggs do you want to hatch and how often will you be hatching eggs. You most likely will not want or need to buy a Sportsman Incubator if you are only going to hatch eggs once or a smaller number.
The next thing you will need are the eggs you are going to hatch. There are several ways to find hatching eggs depending on what you want. If you already have chickens you just have to travel to your nesting boxes and then you are ready to go. If you don’t already have chickens where do you start? You can ask friends that raise chickens for some eggs. You can visit a local farm and see if they will sell you some hatching eggs. You can search on craigslist for hatching eggs (we have found several people advertising on craigslist). You can even purchase them off of EBay.
You will need something that will tell you the temperature and humidity levels if your incubator does not have once built in. If your incubator does have one built in you may even want another one to compare readings. We use the AcuRite 00325 Home Comfort Monitor and have had no issues with it.
I would also recommend a journal or notebook to record information regarding each incubation you do. We note the daily temperature highs and lows and humidity levels. This will be important if you have a bad hatch in determining where you went wrong.
Let the incubation begin.
The first thing you will need to do is once you have everything you need to incubate your eggs is to set up your incubator. To set up your incubator you will need to turn it on and get it to the proper temperature and humidity levels. The best temperature range for chicken eggs are between 99 degrees and 101 degrees with the optimum being 99.5. The proper humidity level will for the first 18 days will be between 40 and 50. We have found it best when we try not exceed 45. Ensure your incubator maintains these levels for at least 24 hours prior to placing your eggs in the incubator.
Once your eggs are placed in the incubator you will need to monitor the temperature and humidity levels. You will also need to start turning your eggs. The eggs will need to be turned a minimum of 3 times a day. Depending on how busy your life is it may be difficult to maintain a schedule for turning your eggs. If you think you may fall into that category you may want to invest in egg turner or purchase an incubator that comes with an egg turner such as the Farm Innovators Model 4200 Circulated Air Incubator with Automatic Egg Turner.
You will continue to maintain these temperature ranges and humidity levels as well as turn your egg until day 18. On day 18 your incubator will go into lockdown as your eggs prepare to hatch. When you are going into lockdown mode you will need to elevate your humidity levels from between 40 and 50 to between 65 and 75 and stop turning your eggs. Do not go into your incubator once you go into lockdown.
Hatch Day!
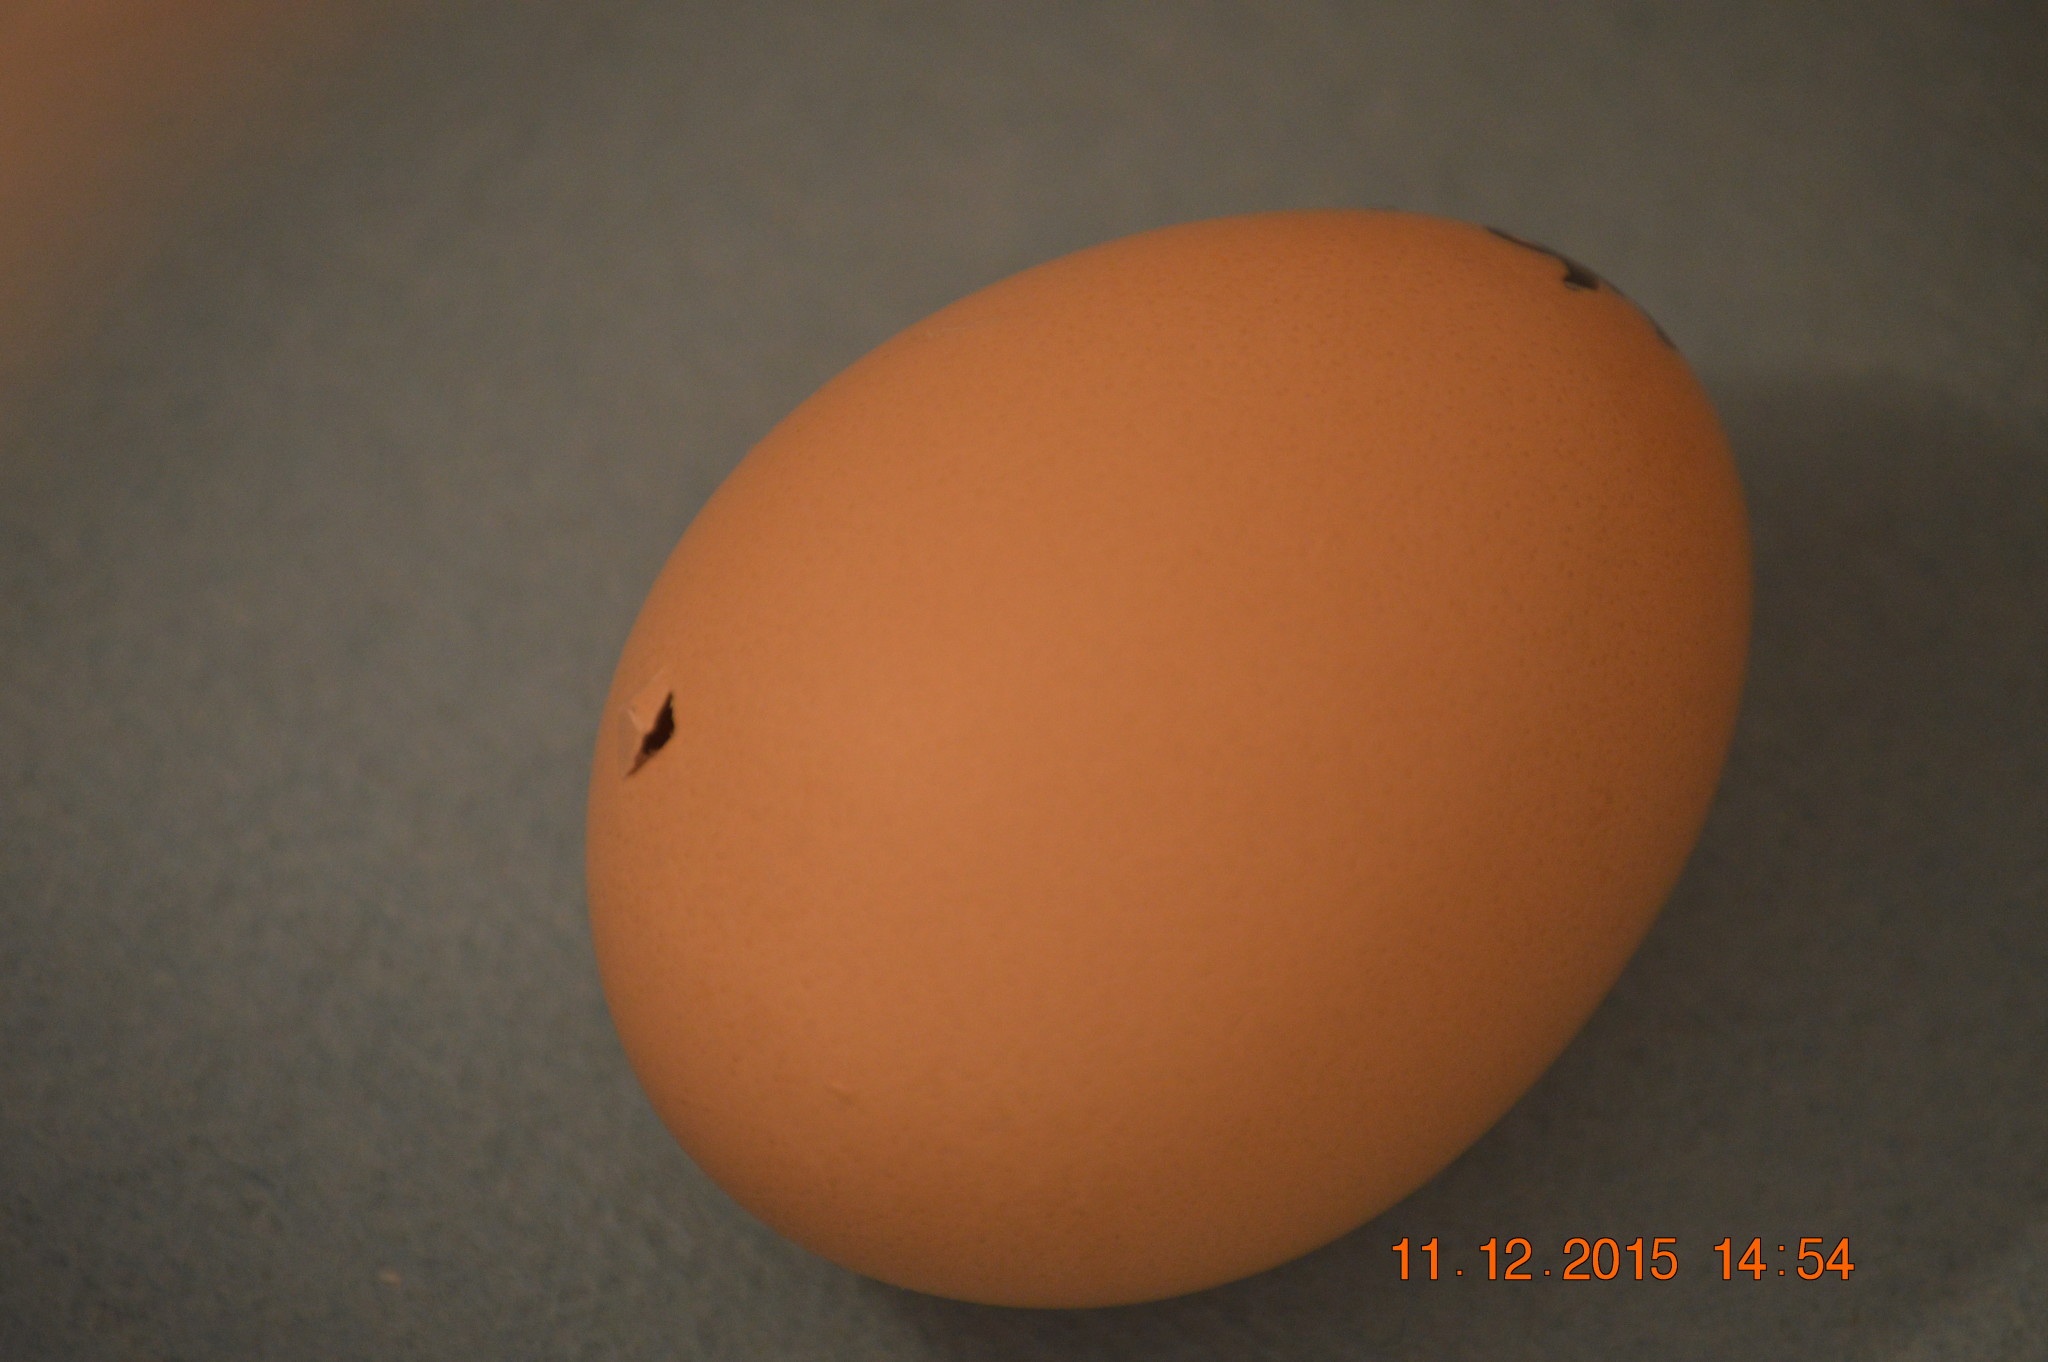
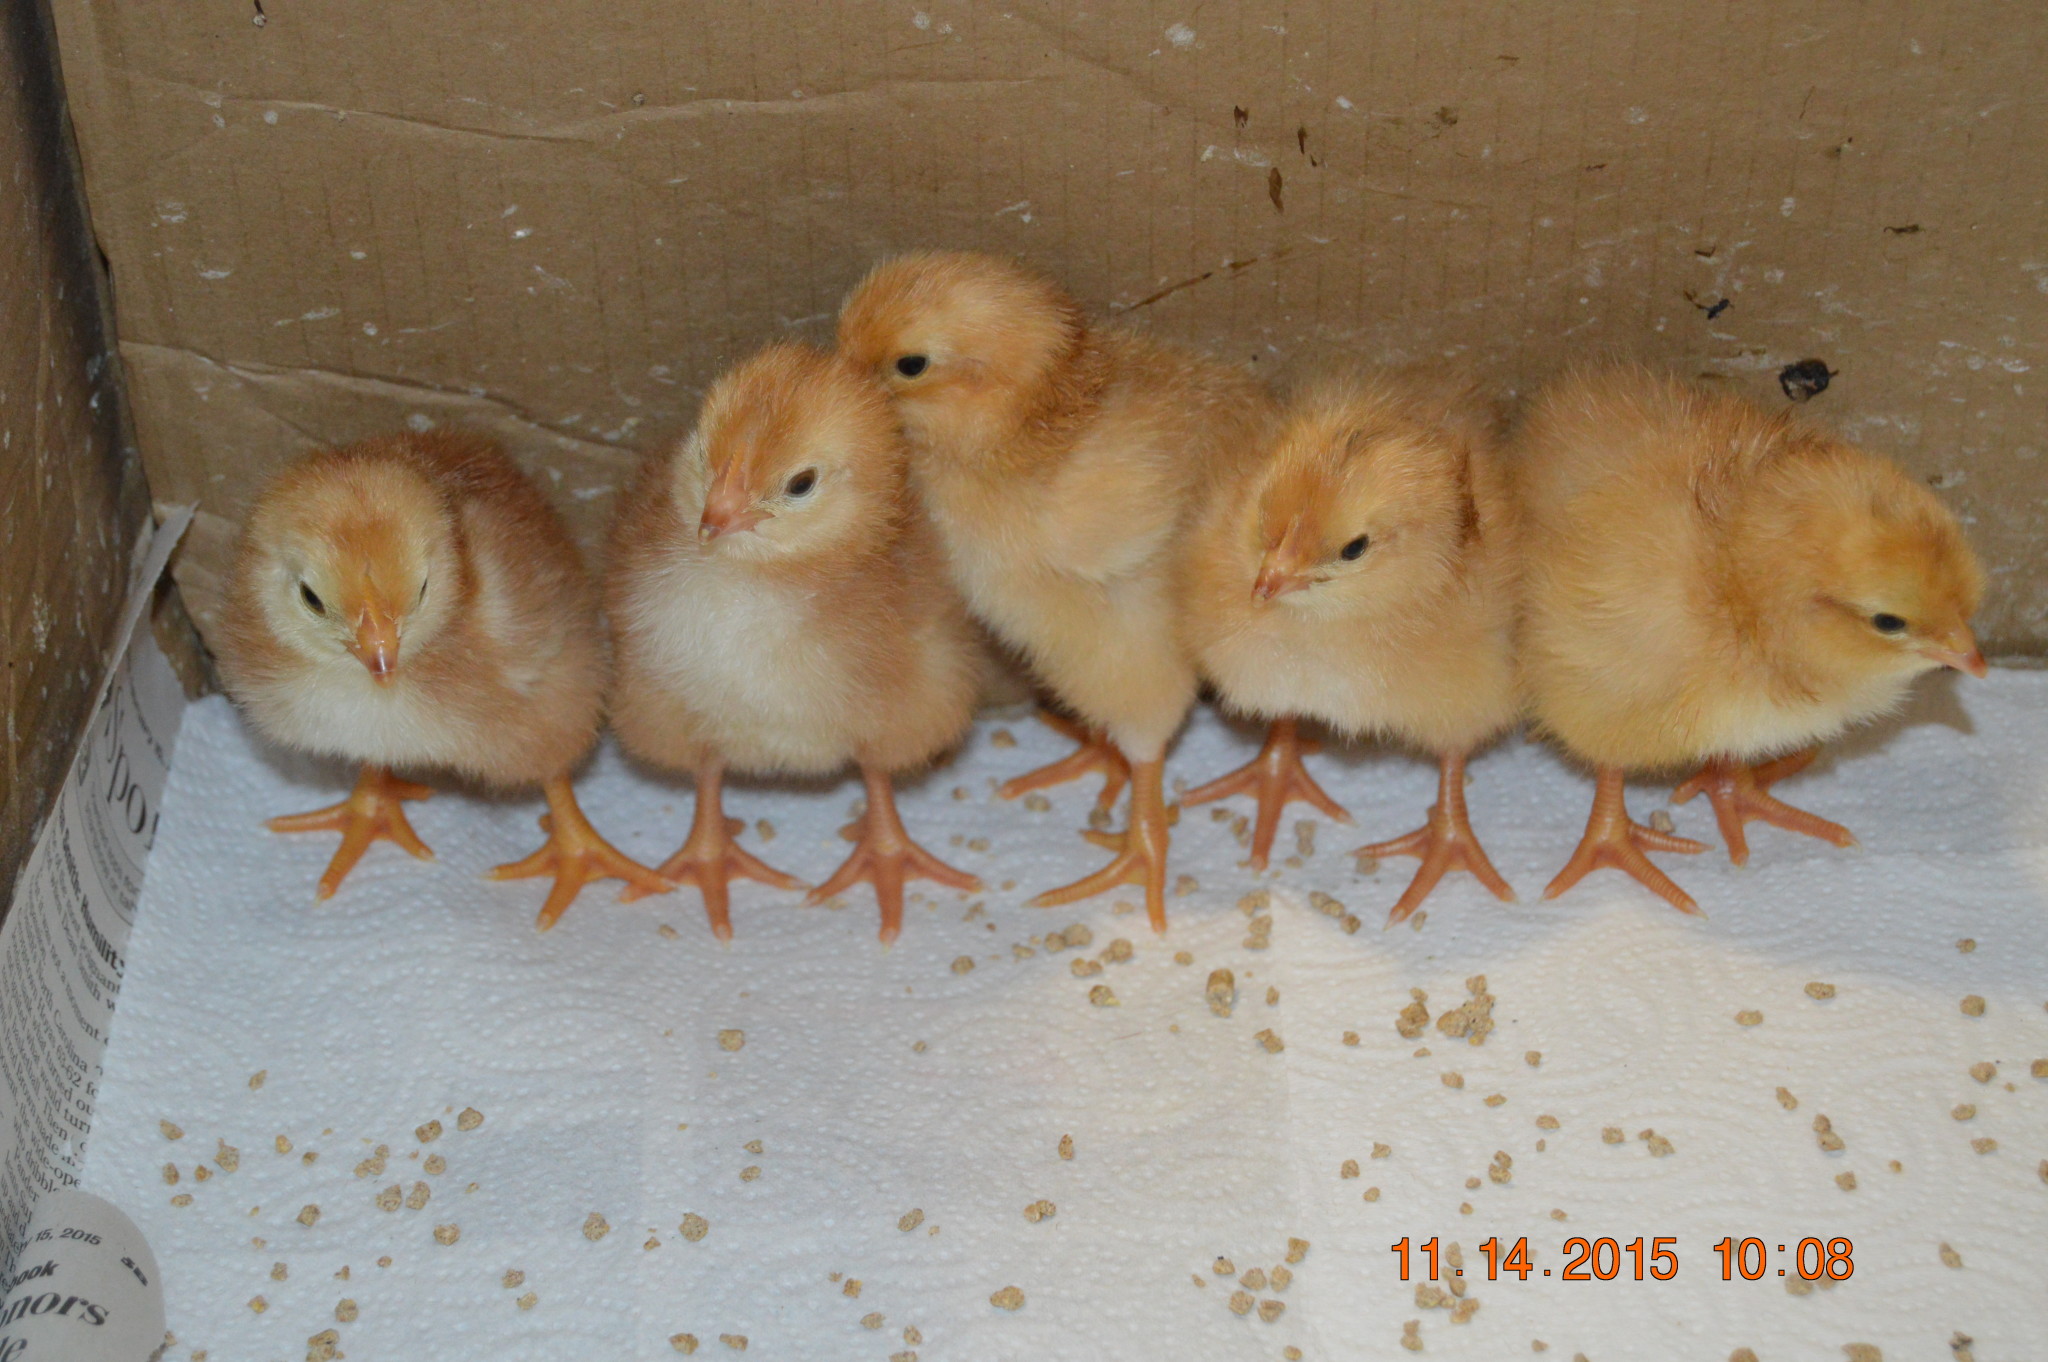
It is day 21 and you are ready to welcome your new chicks into the world. This can be one of the hardest parts of the incubation period for people. You will have all the excitement and anticipation built up for this day. You will see the first pip (a pip is the first hole a chick pokes into the shell) and see no other progress for hours. You will think something is wrong. You will want to go into your incubator and see if something is wrong or help the chick out of its shell. You will need to resist that urge and try your best to remain patient. Eventually you will see your first chick begin to zip and completely hatch from the shell (the zip is a line of pips). It is an incredible moment when your first chicks show their faces and you know you were a part of the process. Even though your first egg has hatched remember not to open your incubator until all your eggs have hatched. The entire hatch process can take any where from hours to all day. Once the hatch is complete take your chicks out and place them in the brooder and enjoy watching them.